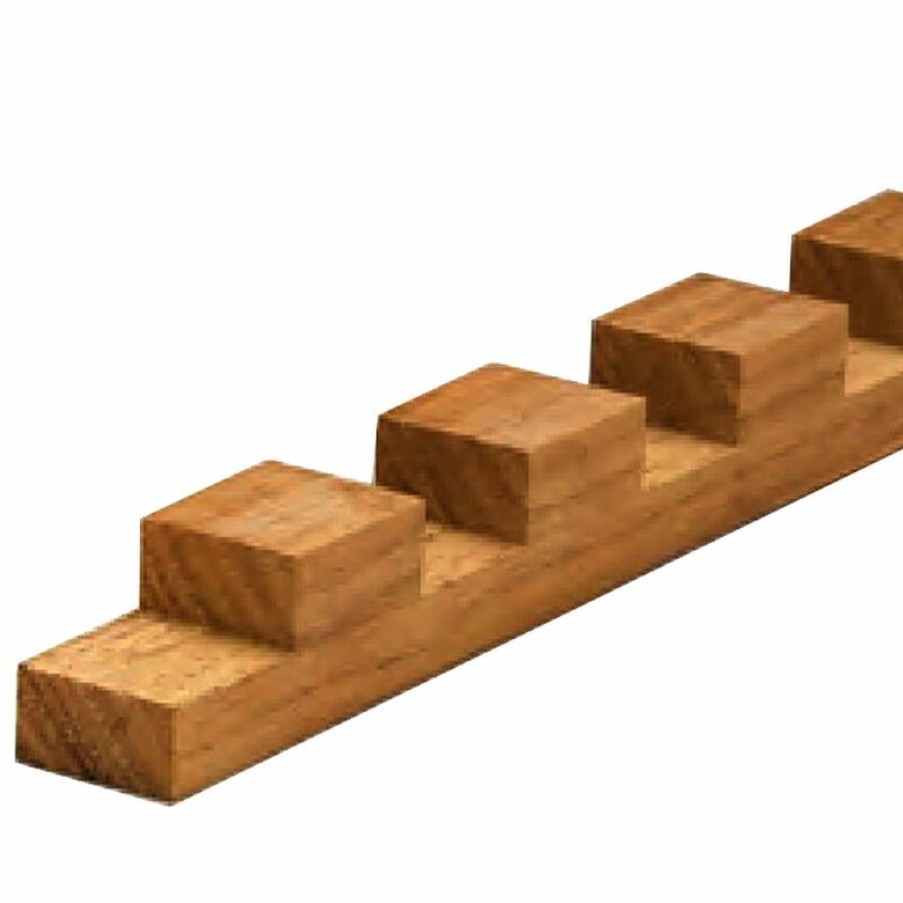
Nautical Decor * | Whitecap Teak 1/2″ Cockpit Grating Material
$14.87 $9.81
Nautical Decor * | Whitecap Teak 1/2″ Cockpit Grating Material

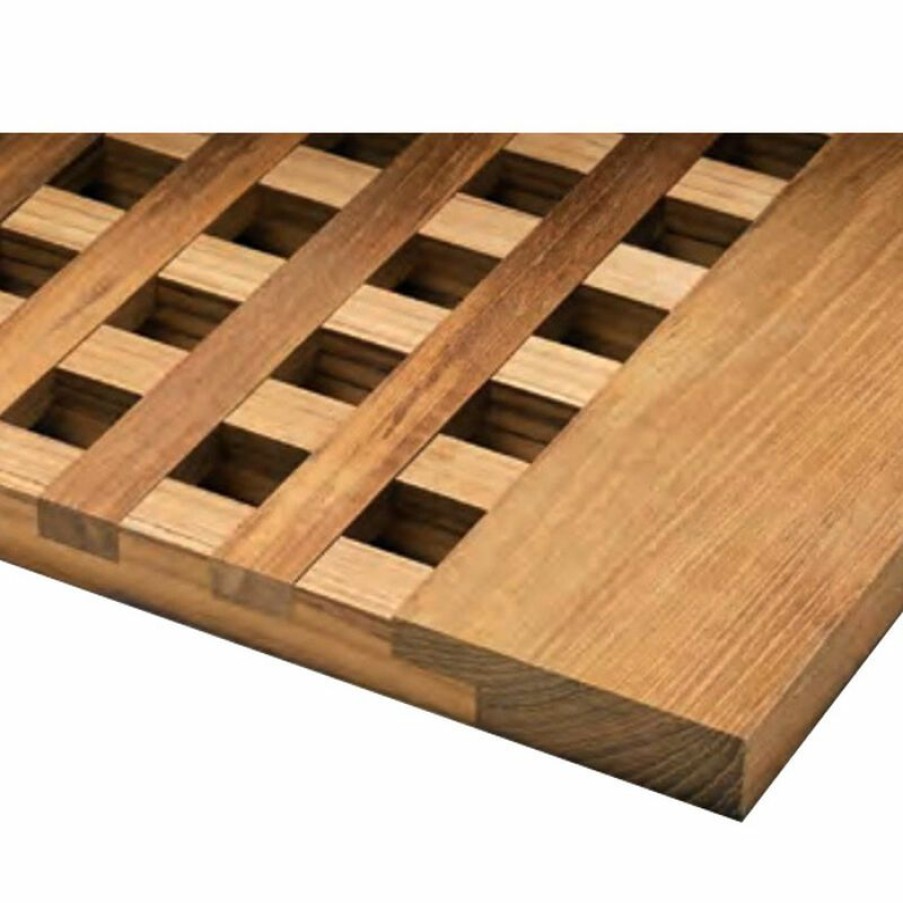
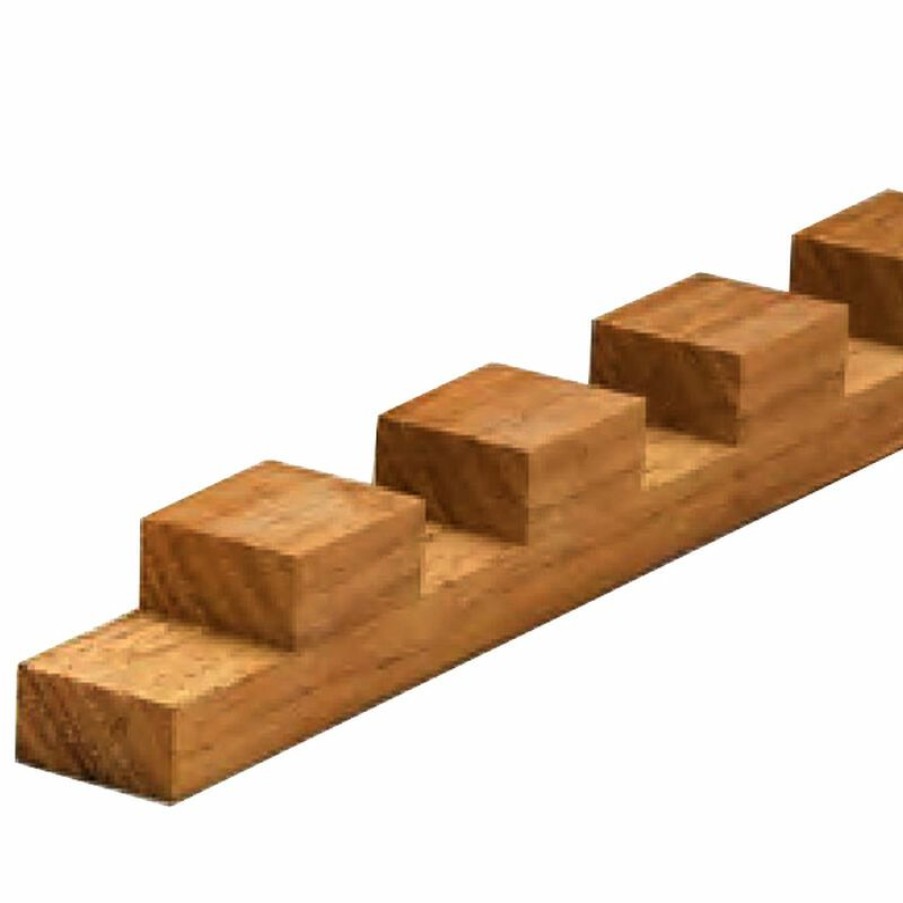
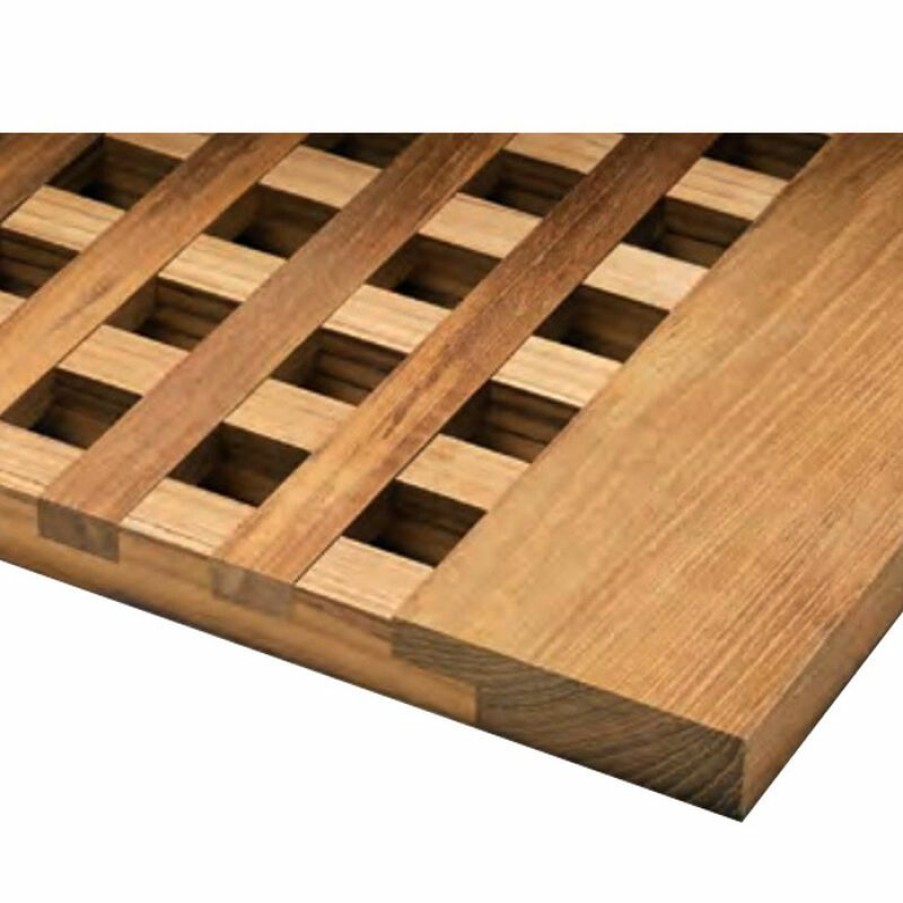
Build Your Own Teak Cockpit Grate
Build Your Own Customized Cockpit Grate With Whitecap’S Notched Grating Material In Three Thickness/Cutout Sizes With Corresponding Flat Grate Strips. A Grate Can Be Built Two Ways: Use Notched Strips In Both Directions, Or Use Notched Strips In One Direction On The Bottom Layer And Flat Strips In The Opposite Direction On The Top Layer.
This Construction Style Will Allow Water To Drain Underneath Grates Installed On Flat Surfaces.
When Building A Grate Use Materials That Are All The Same Thickness, 1/2″, 3/4″ Or 1″.
1/2″ Grate Material:Use For Icebox Grating Or Where The Grate Will Not Need To Support A Significant Load.
3/4″ Grate Material:Use In Showers Or Cockpits With Relatively Flat Configurations.
1″ Grate Material:Use In Cockpits With A Significant Slope, Or Places Where Grating Would Be Requiredto Carry A Heavy Load.
Use These Material Ordering Guidelines:
1/2″ Grating: One Strip Of Each Type Of Grating For Each Inch Of The Area You Are Covering In Both Directions.
3/4″ Grating: One Strip Of Each Type Of Grating For Every 1-1/2″ Of The Area You Are Covering In Both Directions.
1″ Grating: One Strip Of Each Type Of Grating Material For Every 2″ Of The Area You Are Covering In Both Directions.
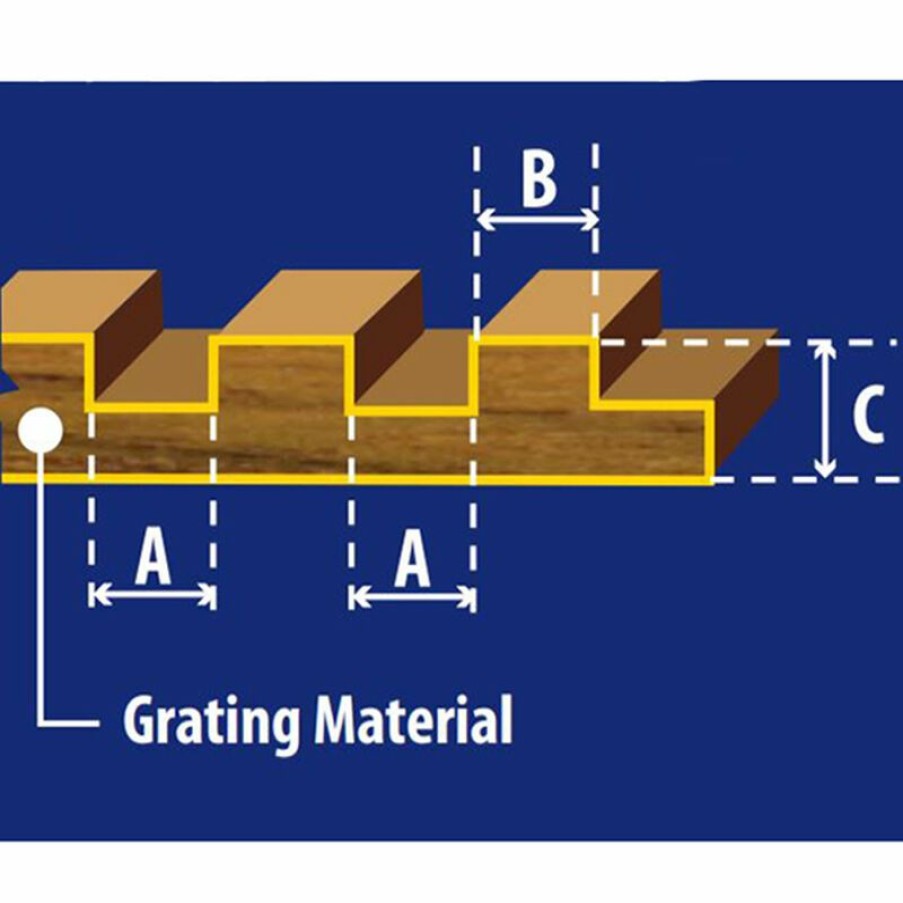
If Framing Is Required, Consider Dimension A Of Framing Material.
Assembly: Measure, Cut, Assemble With Glue, Drill With A Countersink Bit, And Screw Together With Brass Or Stainless Screws. We RecomMend Applying Waterproof Glue To Every Grate Intersection, And Using A Screw At Every Other Intersection. The Use Of Screws During Construction Is Especially Important In The Two Larger Sizes Of Grating Material.
Teak Grate And Framing Material Dimensions:
- 1/2″ Grating Material: A = 15/32″ B = 1/2″ C = 15/32″
- Length: 4′ </Ul
Be the first to review “Nautical Decor * | Whitecap Teak 1/2″ Cockpit Grating Material” Cancel reply
Related products
Nautical Decor
Nautical Decor * | Whitecap Teak 1″ Cockpit Grating Material
Nautical Decor




Reviews
There are no reviews yet.